A Marker is a durable square with an NFC chip inside, a QR code on the face and a six-character PIN on the back. It needs no power, no battery and no maintenance, and it can be repointed at new content for as long as it stays stuck to the wall.
The life of a Marker
- 1
Ordered
Picked from the Shop and on its way. Ships from Tampa.
- 2
Registered
You enter the six-character PIN printed on the back. Now it is yours.
- 3
Linked
Pointed at one of your published Experiences.
- 4
Placed
Mounted where the question gets asked. Taps and scans start counting.
- 5
Relinked
Pointed somewhere new whenever you like. Same Marker, same wall, new content.
Step five is the one worth remembering. Nothing about the physical Marker changes when you relink it: the chip and the printed code still carry the same address they left the factory with. Only what that address points at moves.
1. Order
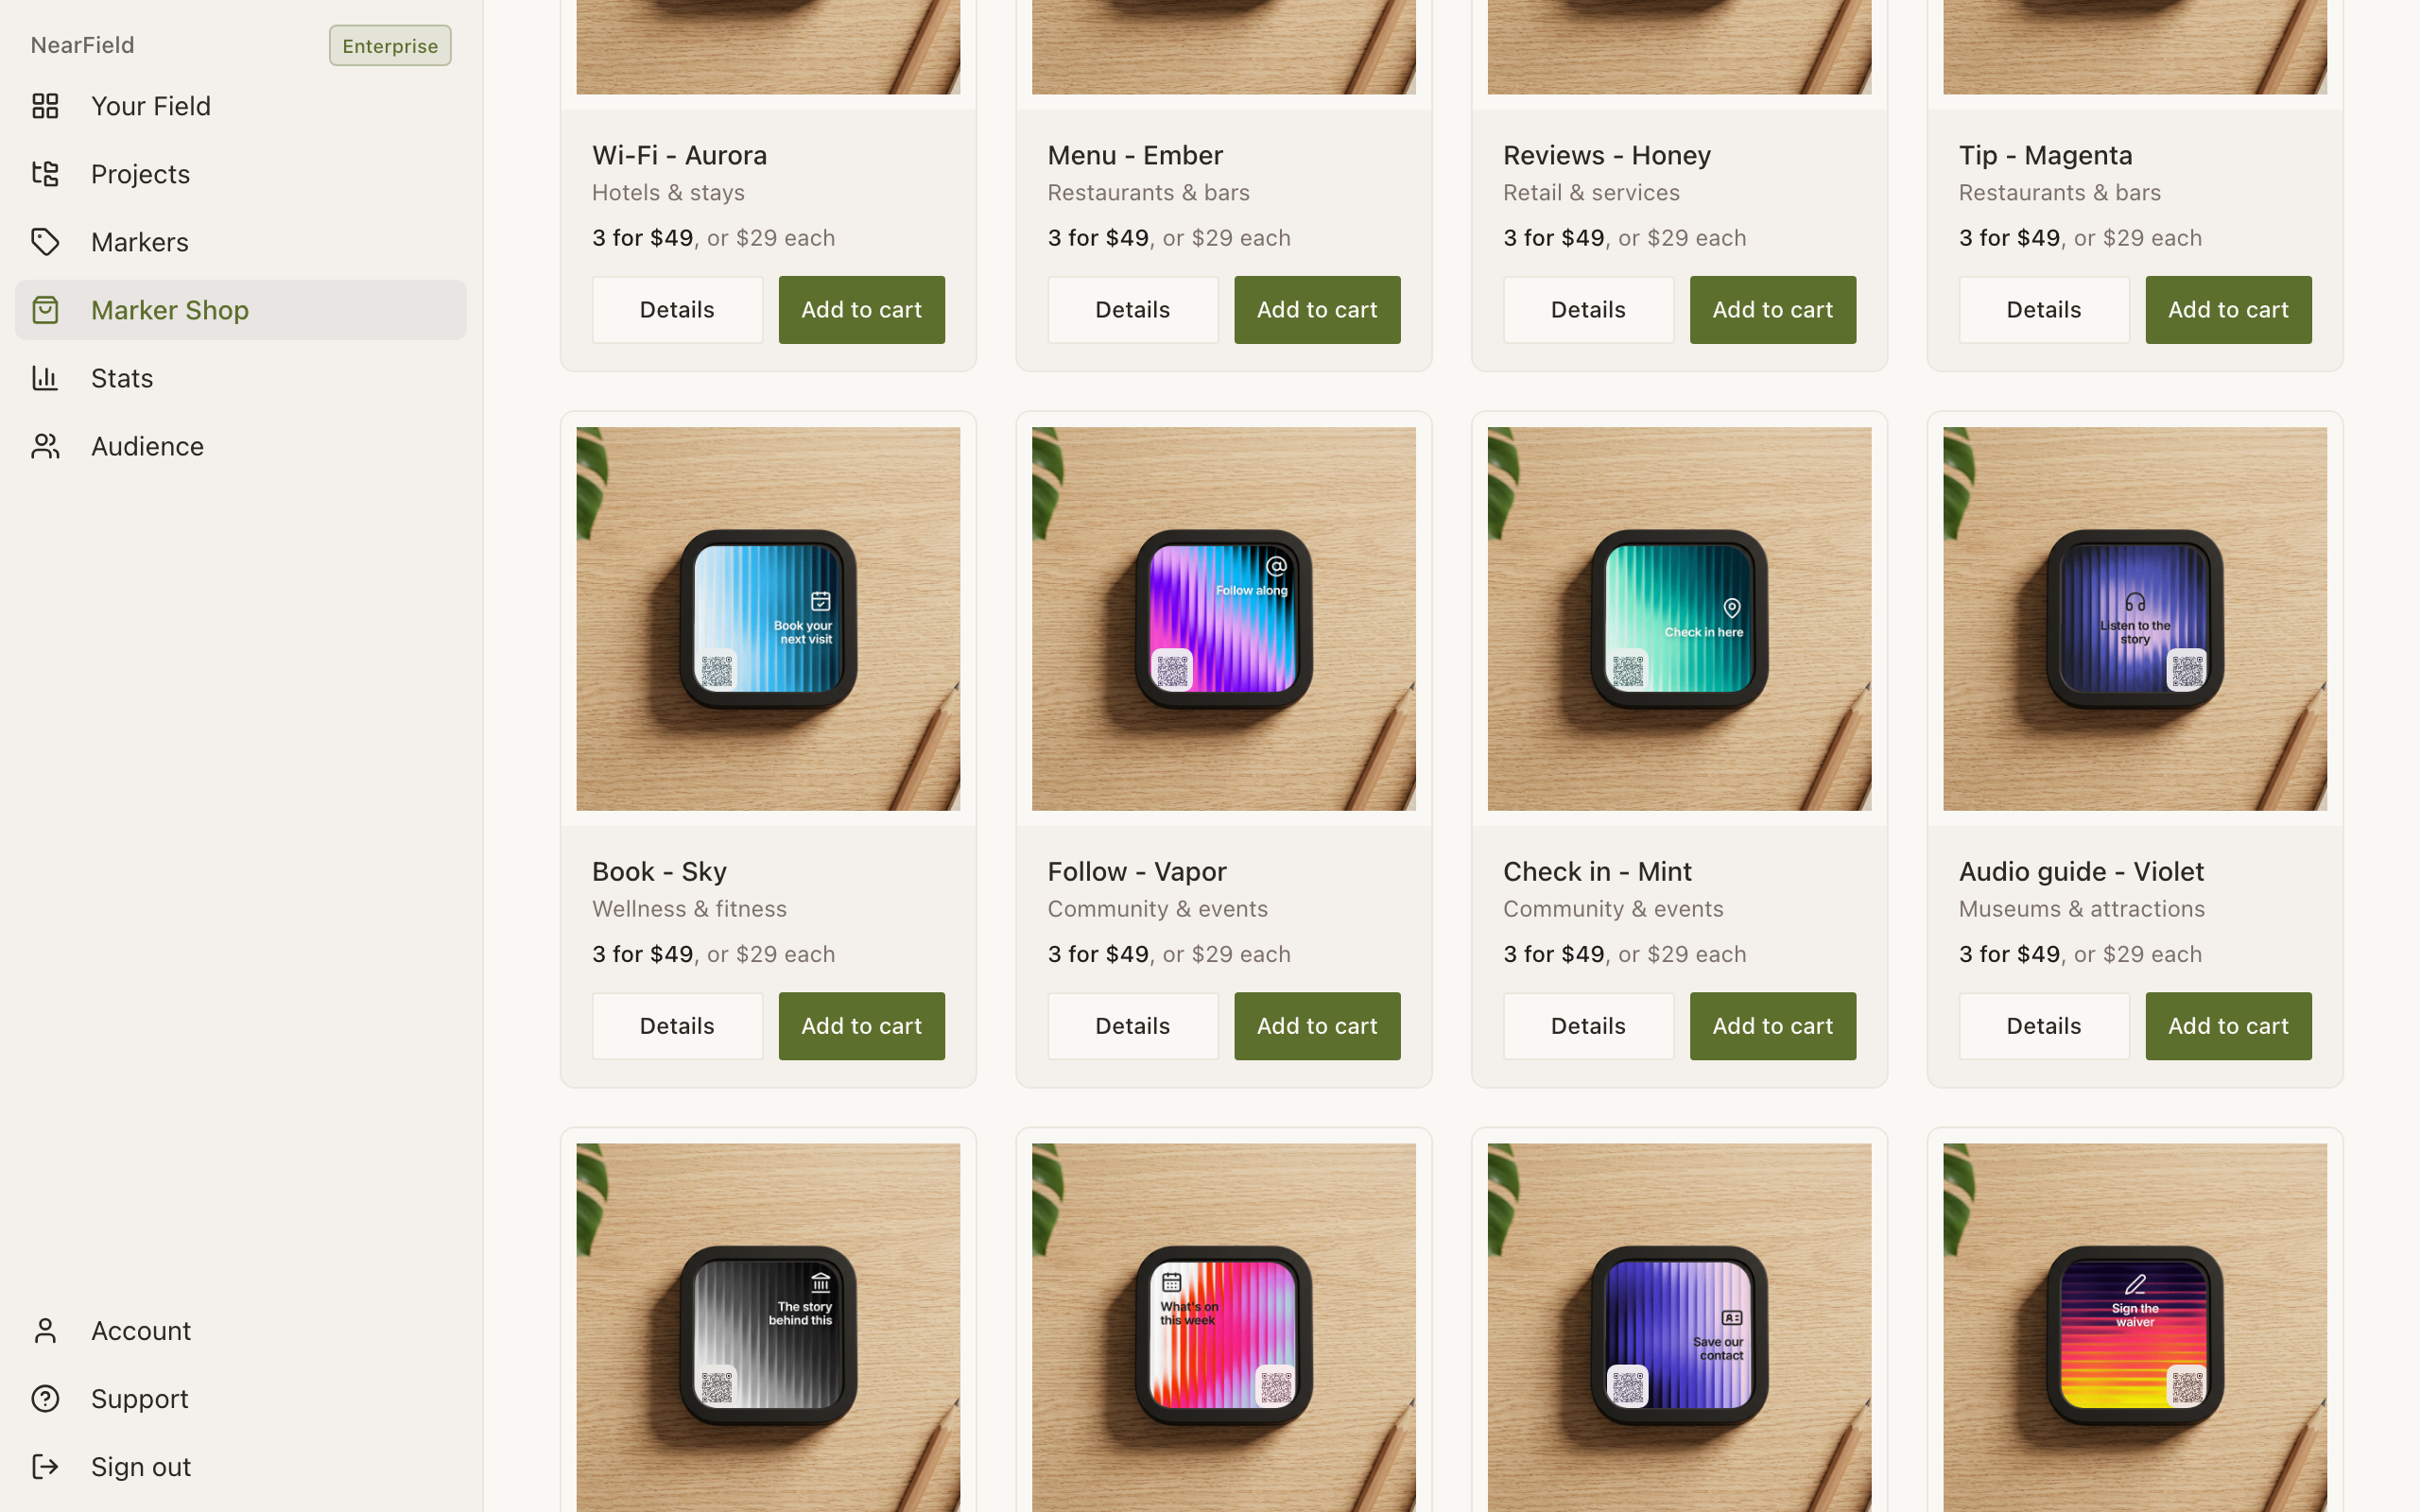
Markers are sold from the Shop. The Intro 3-Pack at $49 is where most accounts start. The first three Markers in any order are priced as that pack, every one after is $29, and one checkout covers up to fifty. Orders ship from the US within two business days.
| Order size | Shipping |
|---|---|
| 1 or 2 Markers | $10 |
| 3 to 50 Markers | Free |
You can also design the face first in Marker Studio and order that design, in one or in fifty. That is covered under Marker Studio and the Shop.
2. Register
A Marker arrives already assigned to the account that ordered it, but switched off. Registering is how you prove it reached the right hands.
- 1
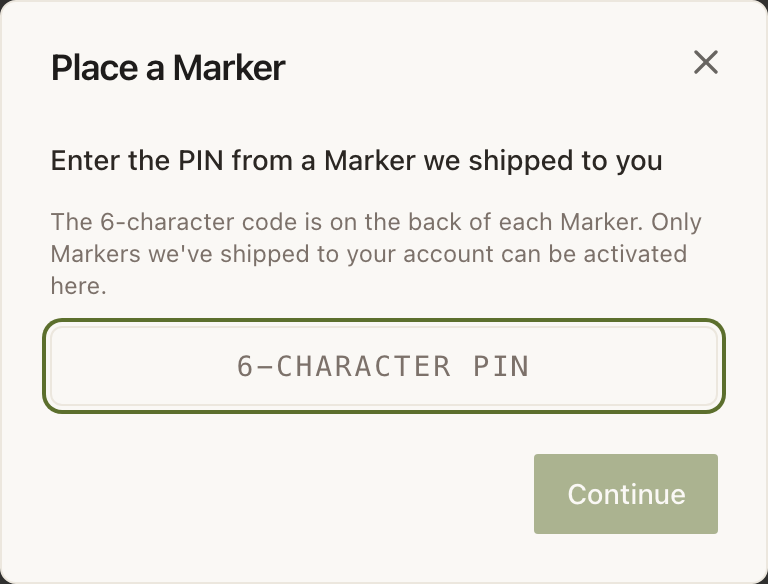
Open Markers and press Place a Marker
Or use Enter PIN to activate inside the “Ready to place” panel on the same page.
- 2
Type the six-character PIN from the back of the Marker
It is printed under the NearField mark. Case does not matter: the field uppercases as you type.
- 3
Choose which Experience it should open
NearField pre-fills this from your order when it can. The dropdown stays editable, and every published Experience is in it.
- 4
Give it a name
Something you will recognise in a list of thirty: “Lobby directory”, “Otter rail”, “Table 6”. This is internal only.
- 5
Press Save
The confirmation shows the Marker's public address. Keep going with Register another Marker: it holds your Experience choice and clears the PIN.
3. Choose the spot
This is the part that decides whether the Marker gets used. A Marker in the wrong place is not a technical problem and no amount of good content will rescue it.
- Put it where the question gets asked. Beside the animal, not at the entrance. On the nightstand, not in the lift lobby. At the table, not by the door.
- Hand height, and reachable. Roughly where a person would naturally rest a hand. Above head height kills tap and scan alike.
- Avoid a metal backing. Metal directly behind an NFC tag detunes it and shortens the read range badly. If the surface is metal, mount the Marker on a spacer or use a holder.
- Leave the QR code clear. Nothing overlapping it, nothing reflective directly in front of it, and enough light to read by after dark.
- Be consistent. If the first three Markers are at the right-hand edge of the signage, put the fourth one there too. Regulars learn where to look.
4. Tell people it is there
A Marker with no invitation gets ignored. A short line of text beside it, “Tap or scan for feeding times”, reliably doubles use, because it answers both what to do and what they get.
5. Test it yourself
- 1
Tap it with your own phone, standing where a visitor would stand
Not leaning over it from behind the counter. The angle matters more than you expect.
- 2
Scan the QR with a second phone
Both paths should land on the same page.
- 3
Check the page top to bottom on the phone, not the monitor
Long paragraphs that read fine on a desktop preview are a wall of text at arm's length.
- 4
Look at Stats an hour later
Your own test appears as a tap. If it does not, the Marker is not linked to a published Experience.
Example
The Bellhaven Hotel
The Bellhaven ordered thirty Markers: one per guest room nightstand, four in the lobby and two by the pool. Every room Marker points at a single Guest Directory Experience, so a change to the breakfast hours is one edit rather than twenty-four. The pool Markers point at a separate Experience with towel hours and a Request Action, because the question being asked out there is a different question.
Can I move a Marker to a different Experience later?
Yes, as often as you like, from the Markers list. Nothing is reprinted and the Marker's whole history follows it: a relinked Marker still reports every tap it has ever had.
What if I lose the PIN?
It is printed on the back of the Marker and nowhere else you can lose. Once a Marker is registered you never need the PIN again, including for relinking.
Will it work outdoors?
The Markers are durable, but direct weather and full sun are hard on any printed surface. Under a canopy or inside a case is the safer install.
How close does a phone have to be?
Touching, or nearly. NFC is a centimetres-range technology by design, which is what makes a tap unambiguous. If a visitor has to hunt for the read point, the Marker is probably on metal.
Design the face, choose tap-and-scan or scan-only, and order as few as one.
Open the Marker Shop